
How to Bake Perfect Challah: Tips and Tricks from Elana Murray
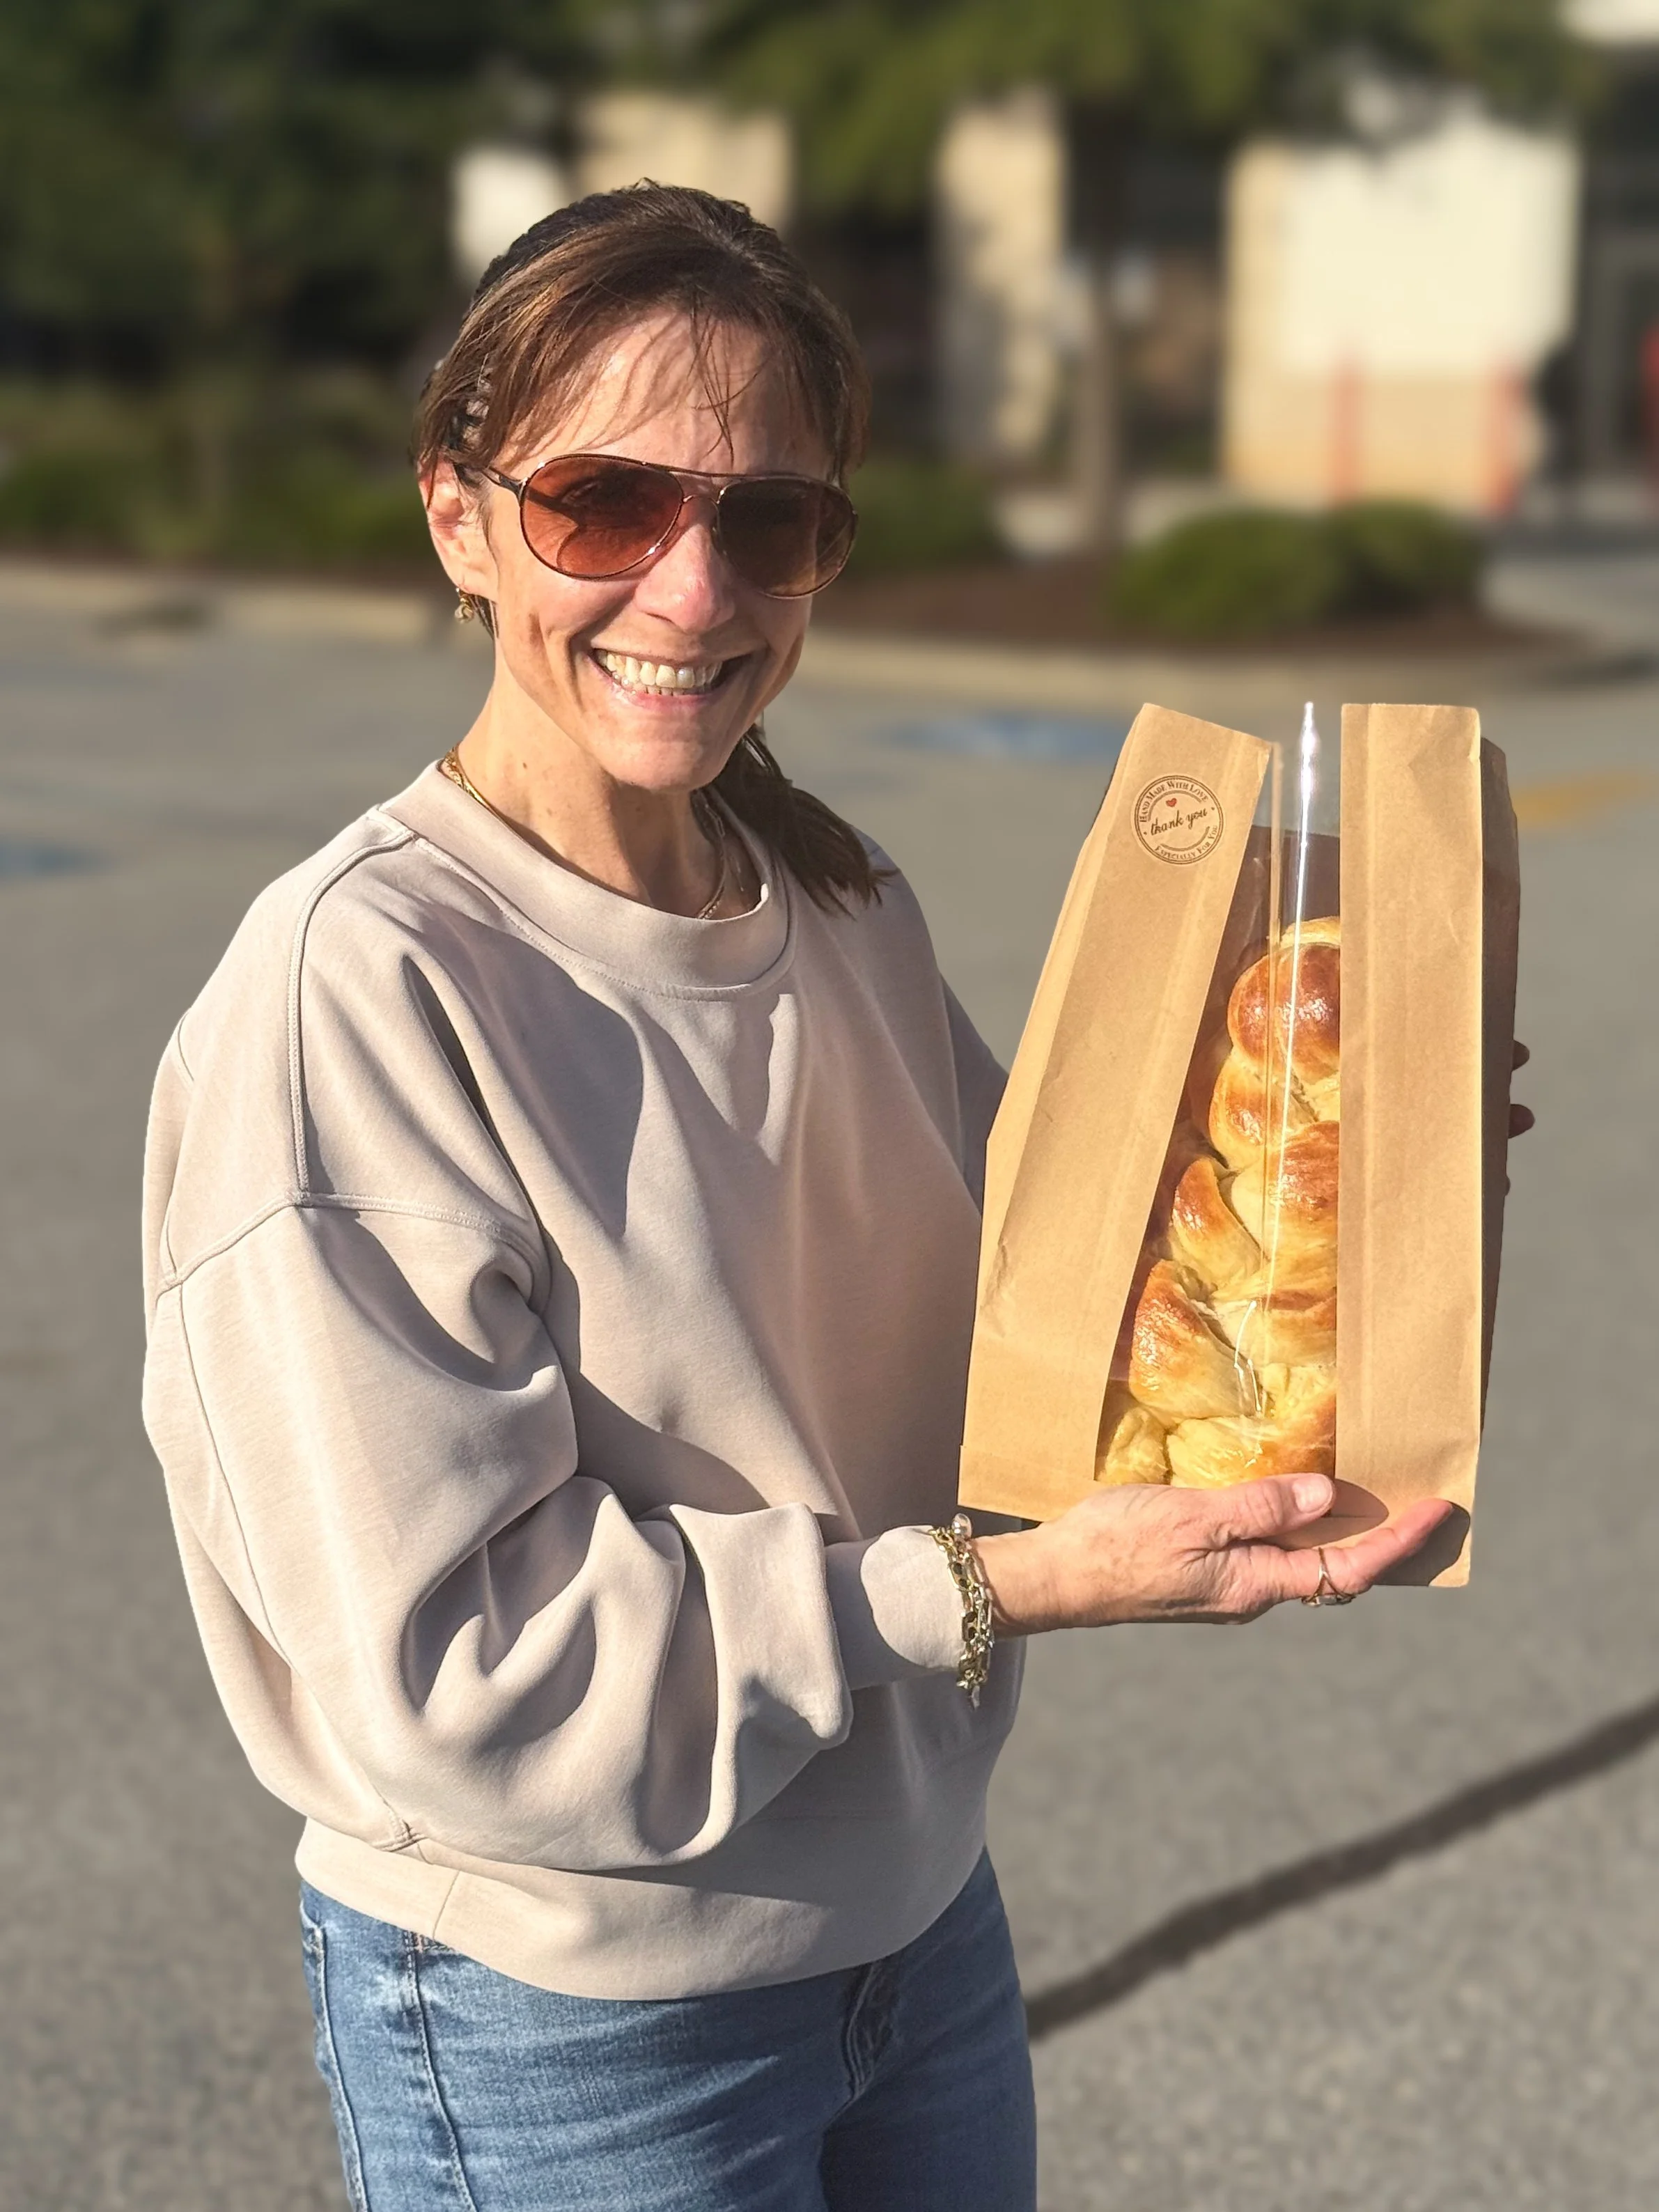
There’s nothing quite like the smell of freshly baked challah filling your kitchen on a Friday afternoon. Fluffy, golden, and slightly sweet, challah is a staple of Jewish baking traditions (I describe it as braided brioche to my non-Jewish friends who haven’t tried it yet) — and it’s easier to make at home than you might think.
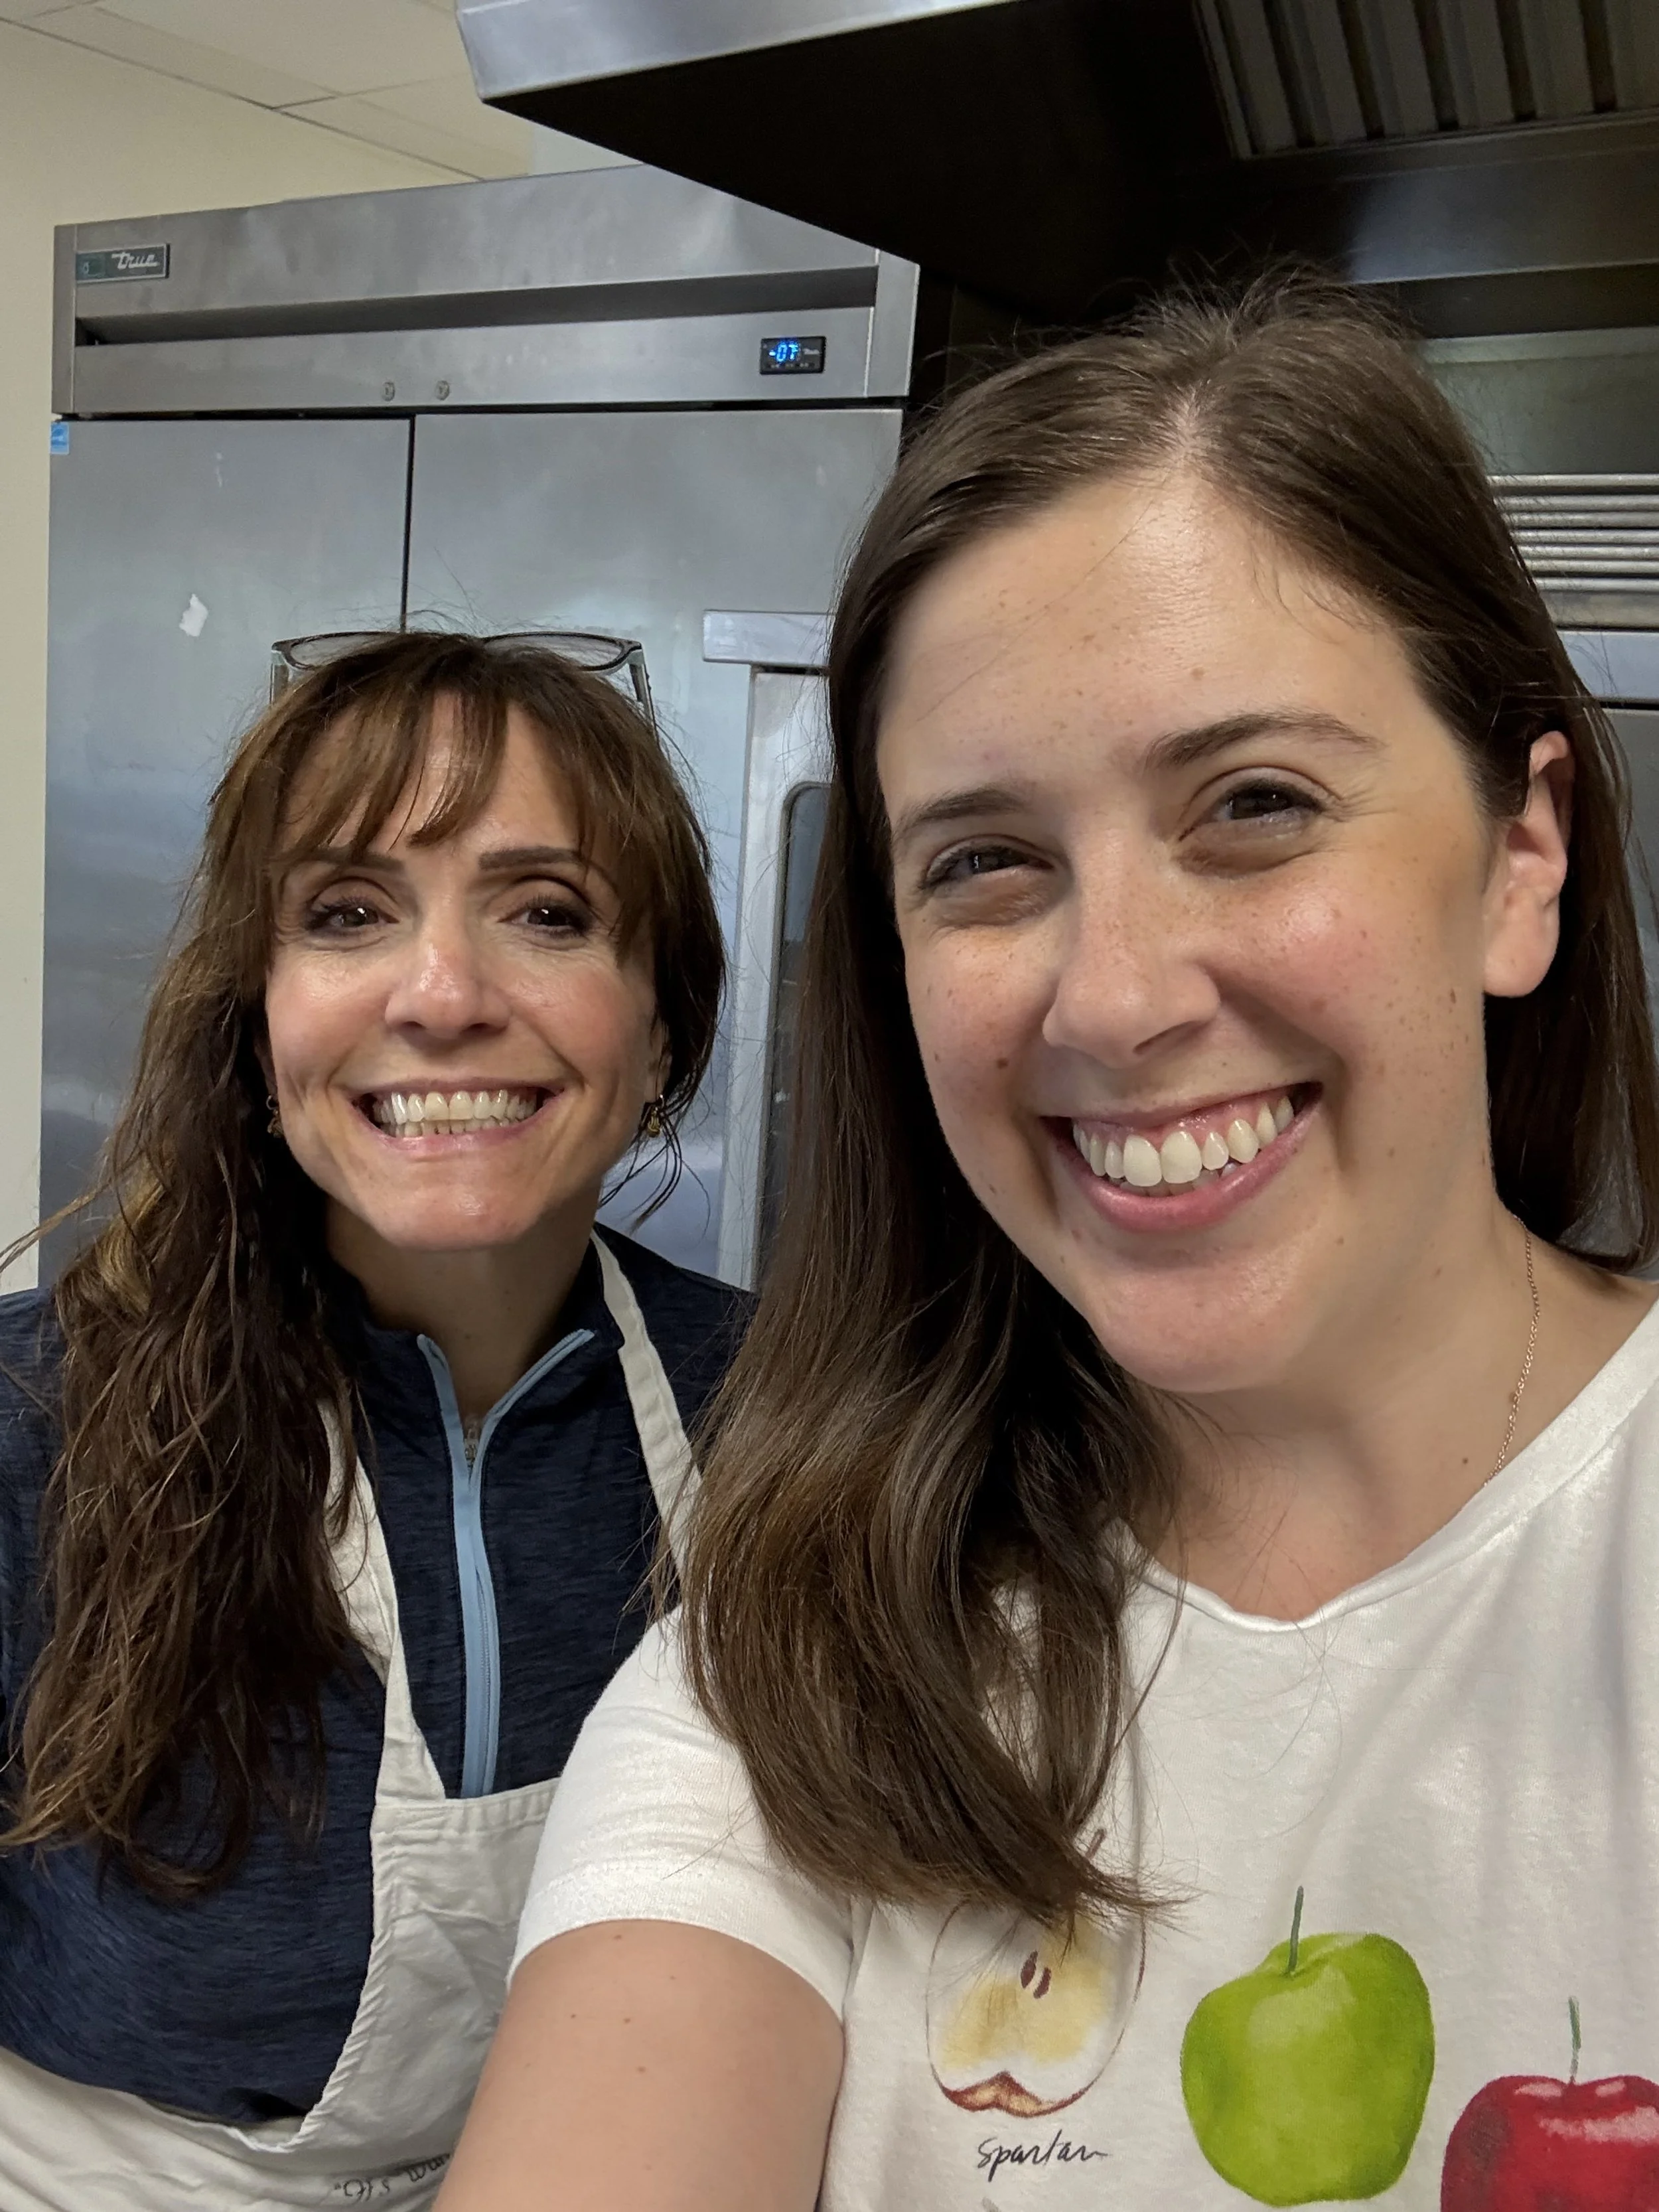
During a recent challah baking class, I had the chance to interview my friend Elana Murray, who shared her go-to one-hour recipe and favorite baking tips. Whether you’re making challah for Shabbat, the High Holy Days, or simply to enjoy with family and friends, these tricks will help you achieve bakery-worthy loaves at home.
Challah Recipe Ingredients
To get started, you’ll need just a few pantry staples:
1 package instant yeast (3/4 tablespoon)
1/2 tablespoon salt
1 cup warm water (like bath water, not too hot)
1/3 cup oil
1/3 cup sugar
4-5 cups flour
2 eggs and 2 egg yolks
This simple ingredient list yields rich, golden challah with a soft, fluffy crumb.
Challah Recipe Steps
Dissolve yeast in warm water. Add sugar and let stand for five minutes until bubbles form.
Add salt, egg, and oil, and mix well.
Add flour gradually, mixing in one cup at a time.
Knead the dough. You’ll know the dough is ready to rise when it’s slightly sticky and smooth but doesn’t come off on your hands.
Cover with a moist cloth and let it rise for an hour.
Shape your loaves and then place them in a greased pan. Brush with egg wash and let them rise for another 30 minutes.
While the dough is rising, preheat the oven to 350 degrees.
Brush the challah with egg wash again and sprinke on toppings (my go-to is everything bagel seasoning).
Bake for 22 to 30 minutes depending on the oven.
Elana’s Challah Tips and Tricks
Use Rapid-Rise Yeast
Switching from active dry to instant yeast was a game-changer for Elana. Rapid-rise yeast makes larger, fluffier loaves with a softer texture. This King Arthur Baking article convinced her—and it may change your baking, too!
Create a Warm, Moist Rising Environment
Challah dough loves warmth and moisture. Cover your bowl with a damp towel, or place it in the oven (turned off) with a cup of freshly boiled water on the lower rack to mimic a proofing box. You can also place the covered bowl outside on a warmer day.
Invest in Quality Ingredients
Fresh eggs, high-gluten bread flour, and quality yeast will elevate your bread. Better ingredients = better texture, rise, and flavor.
“Baby” Your Loaves in the Oven
Set a timer for 10–12 minutes, rotate your pan halfway through baking, and reapply egg wash to the seams that expand while baking. If your loaves start browning too quickly, loosely cover them with foil to prevent burning.
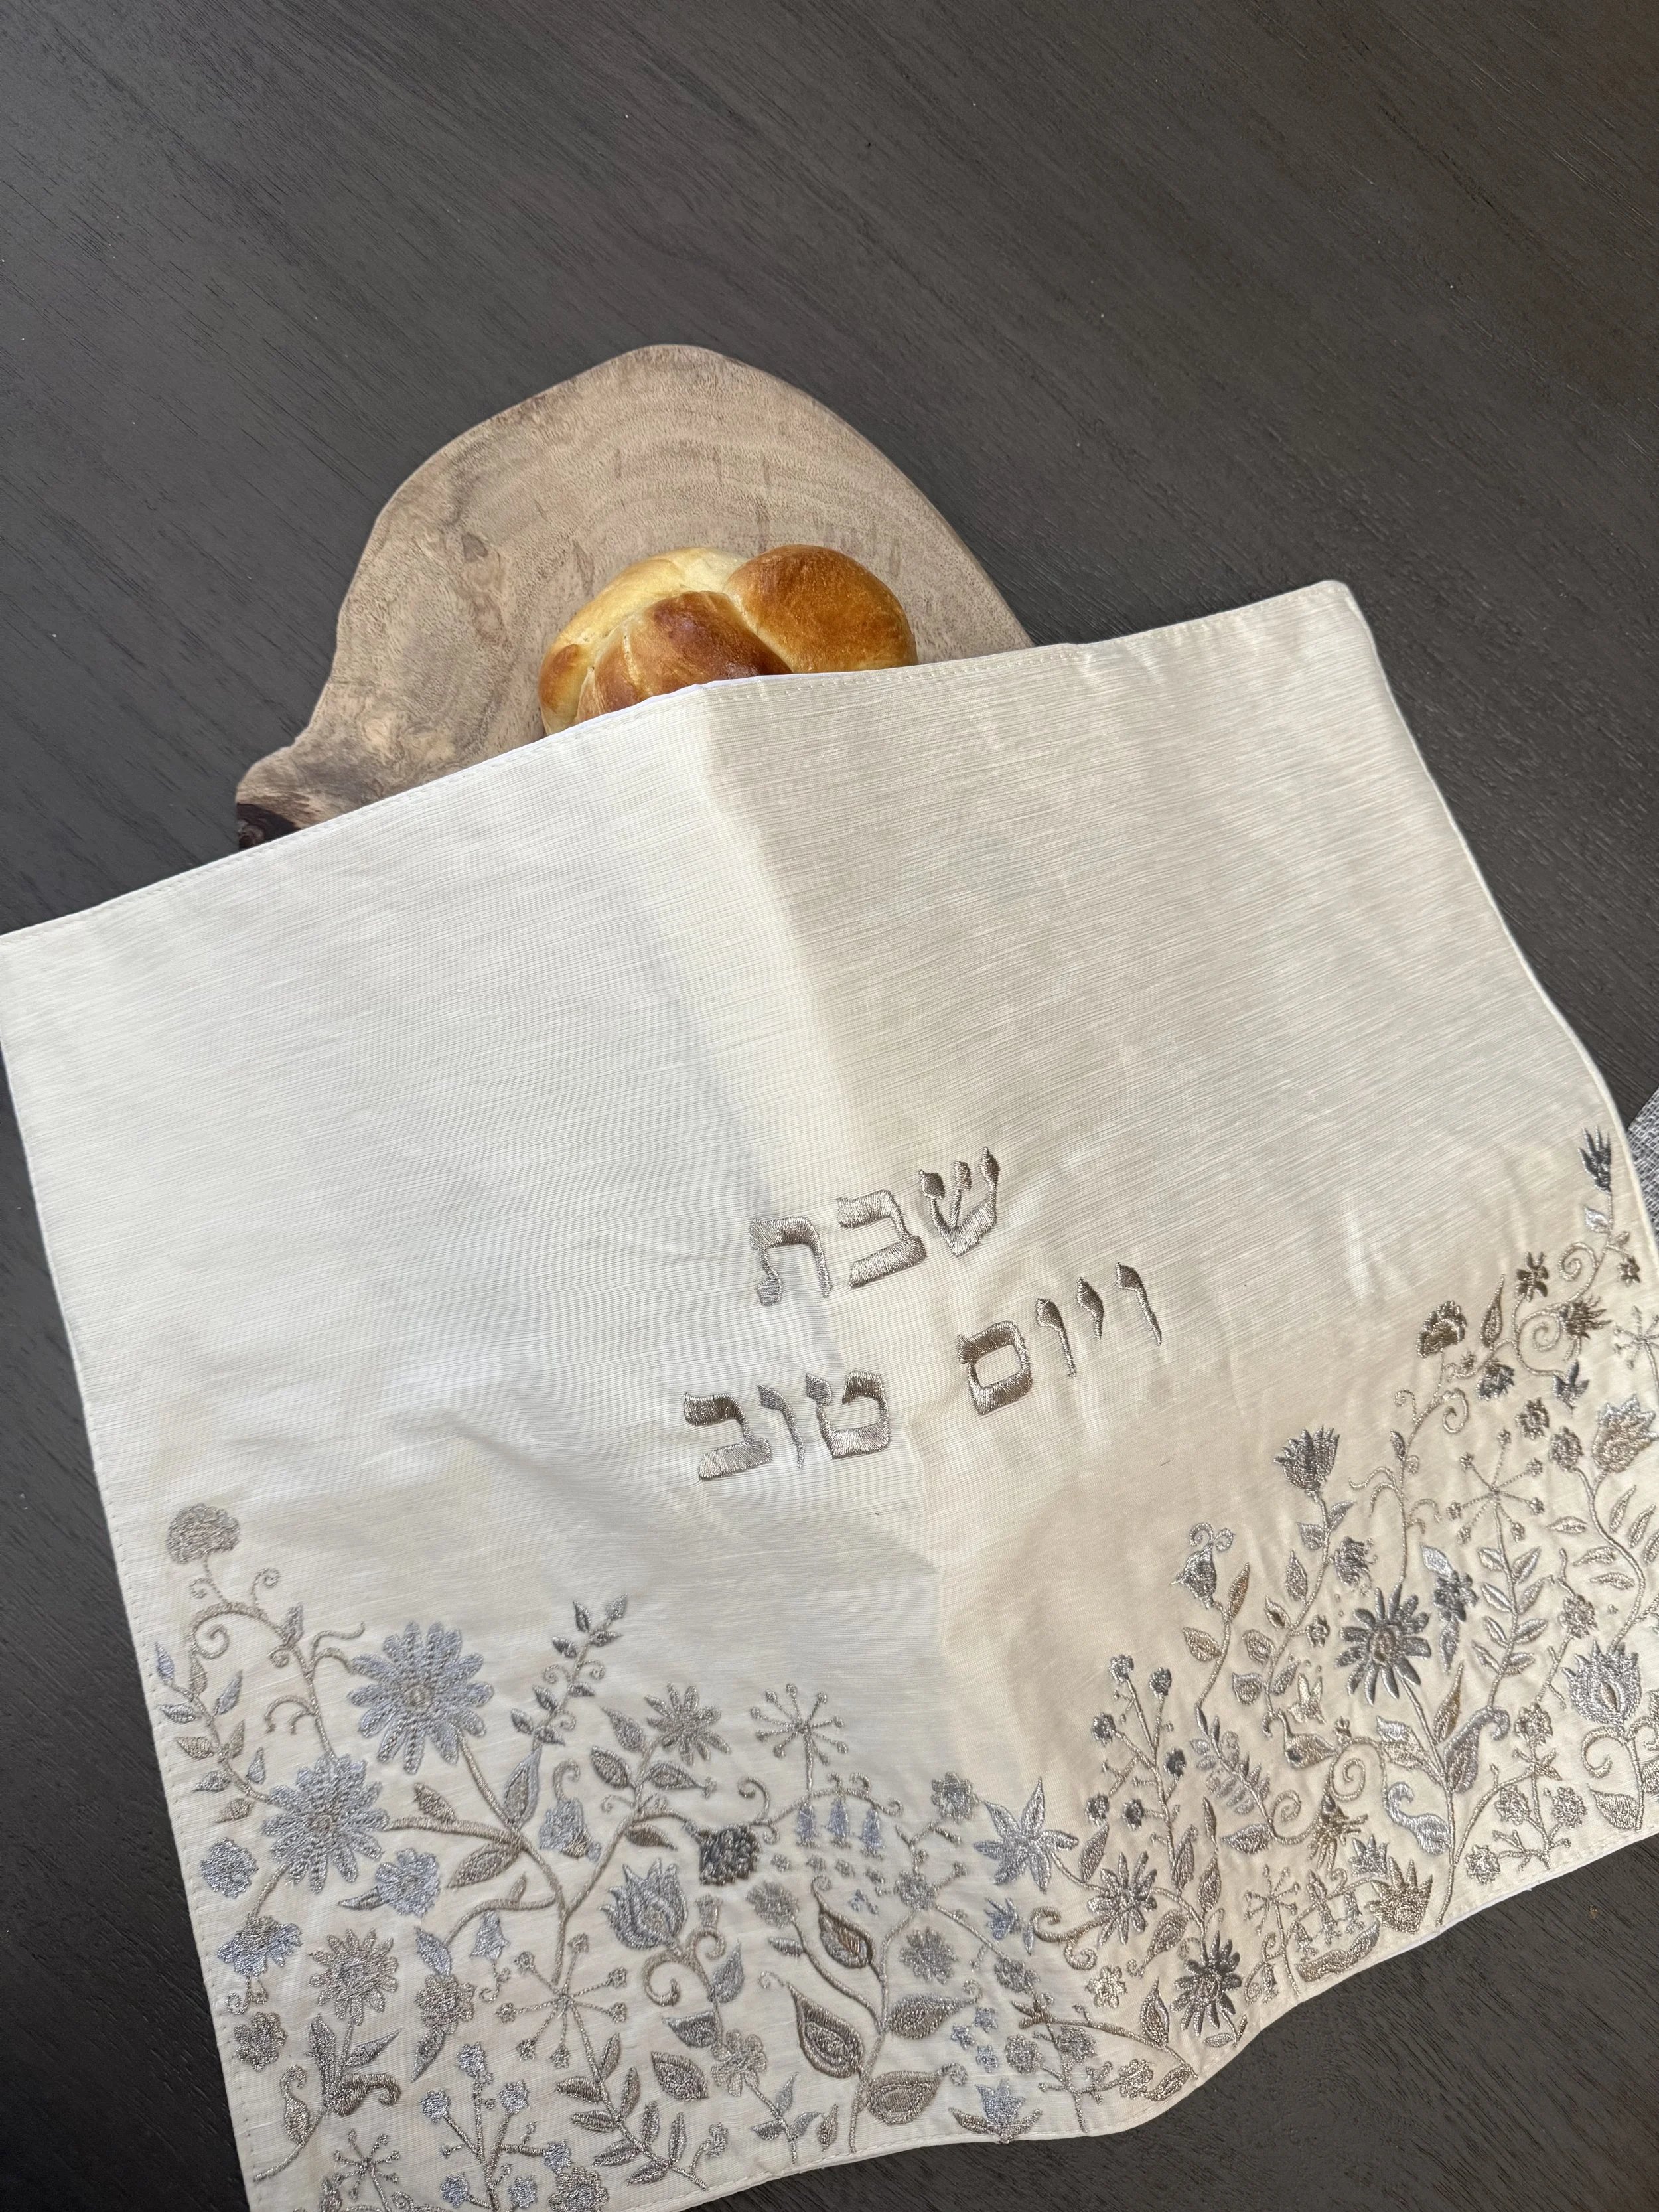
I take babying the loaf a little too seriously 😉
Jokes aside, covering your challah with a beautiful cloth is one of those quiet, poetic Shabbat traditions that’s full of meaning. Some say it’s so the challah doesn’t feel “embarrassed” when the wine gets blessed first. Others see it as a nod to Shabbat herself — our weekly bride — so when we lift the cover, it’s like unveiling her veil to welcome the joy of rest and connection.
Slightly Underbake for the Best Texture
You’ll know it’s ready when your kitchen is filled with the amazing aroma of fresh challah. Look for a deep golden bottom crust and a hollow sound when tapped. Elana recommends pulling them out just before overbaking and tenting with foil for a few minutes to let the bread settle. You can test if they’re ready by tapping to see if they’re firm and sound hollow.
Freeze Leftovers Quickly
With no preservatives, challah only stays fresh for about two days. Freeze your loaves the next day (if you have leftovers!) to lock in flavor and texture.
Why Homemade Challah is Worth It
Homemade challah isn’t just about the final loaf—it’s about the process. Kneading dough, braiding strands, and watching bread rise connects you to tradition while creating something beautiful and delicious. Plus, when you bake it yourself, your home fills with the warm, sweet aroma of challah fresh from the oven.
Final Thoughts
Thanks to Elana Murray’s expert guidance, baking challah at home feels approachable and rewarding. With these simple ingredients and insider tricks, you’ll be ready to serve golden, fluffy loaves that are perfect for sharing with family and friends.
Whether you’re celebrating Shabbat, Rosh Hashanah, or just a cozy weekend at home, this challah recipe is sure to become a family favorite.